For many years, summer and autumn were the classic canning time, to preserve the harvested fruits of the warm season for the cold winter months. Today, however, making your own jams has acquired a completely new status and is done throughout the year. But how do you make homemade jam?
Each season brings its typical fruits, which can be used to make countless delicious homemade jams. Spring starts with apricots, fresh rhubarb, and continues with sweet strawberries in May. With gooseberries, apricots, and blackberries, summer offers an abundance of fruit for self-made fruit compositions. From September, the professionals among the jam cookers will be happy to use elderberries. And the winter months can be enjoyed with sour, sweet creations made from citrus fruits or an apple spread.
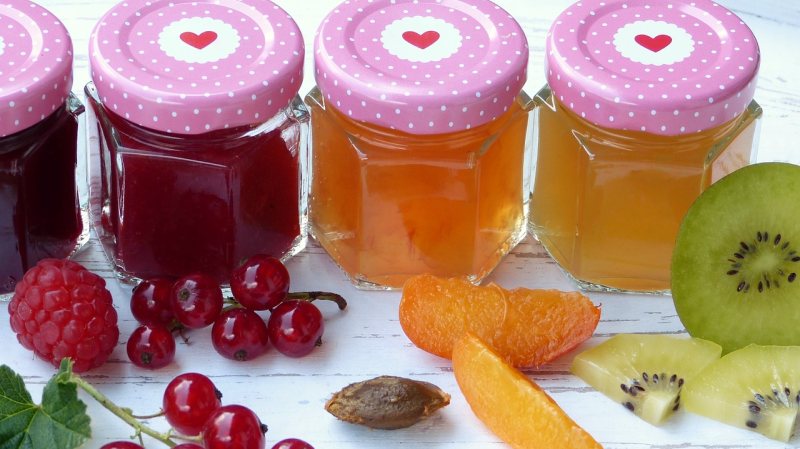
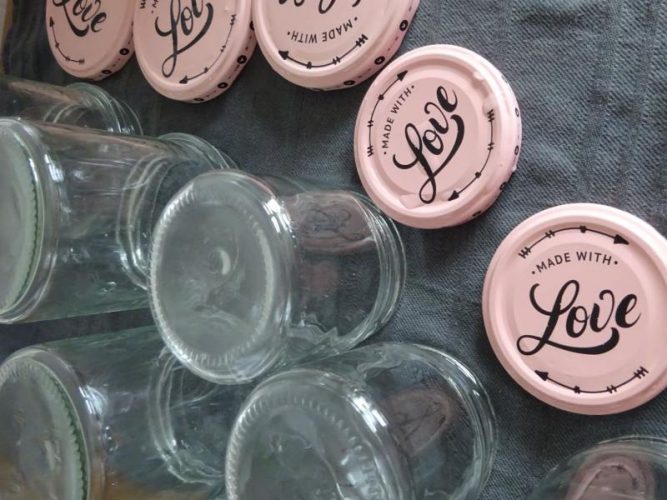
Nicely packaged, these delicious creations are also an unusual gift, made with love, for every occasion.
Homemade Jam – it is easier and less time-consuming than you think
Step 1 :
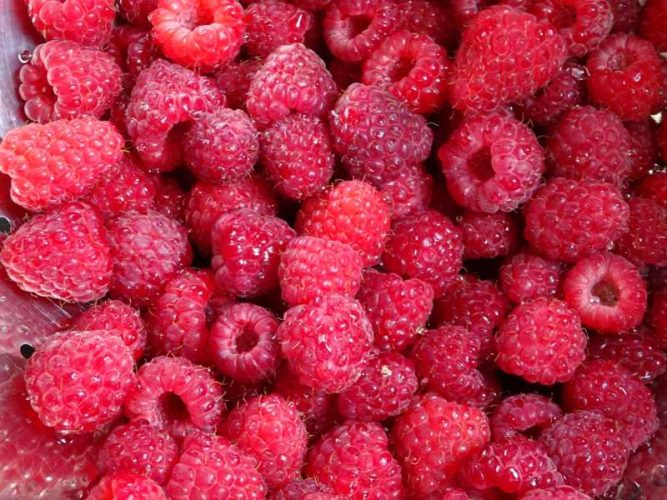
Weigh the fruit unprepared. Only then, depending on the type of fruit, wash, remove the stalk, core, or stone or peel.
Step 2:
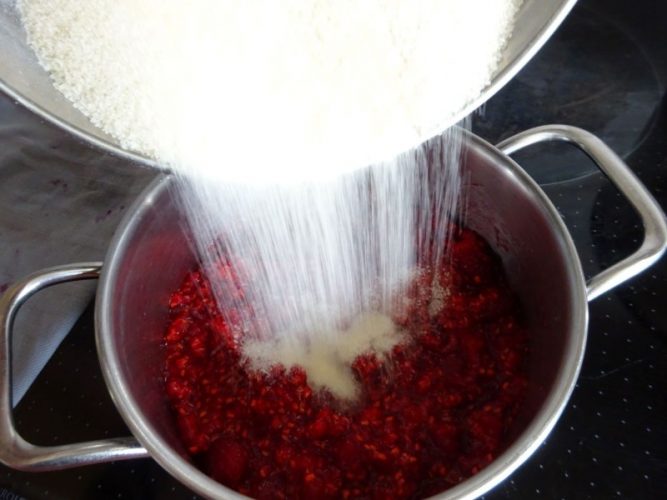
Put the chopped or pureed fruit in the saucepan, add the lemon juice (if provided in the recipe), and the entire contents of a packet of preserving sugar to the cold fruit mixture, and stir well.
Please note: Always use all the contents of the packet, but only one packet for the corresponding amount of fruit at a time. The cooking time is always geared towards this.
Step 3:
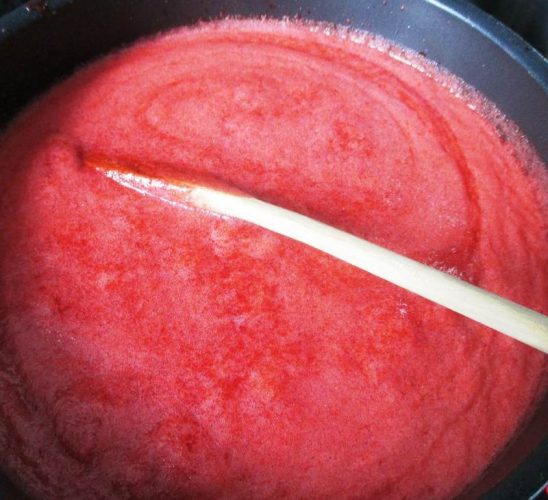
Now heat the fruit-sugar mass on the highest level and stir the mass over and over again. As soon as the fruit mass begins to bubble, the actual cooking time begins. The cooking time is 4 minutes. Make sure you stir well all the time so that the mixture doesn’t burn.
Step 4:
Take a gelling sample: take the whisk from the hot mass and let it drain off. If the last drop becomes solid, the jam will also solidify. If this is not the case, then cook the mixture for another 1 to 2 minutes, and keep stirring.
Step 5:
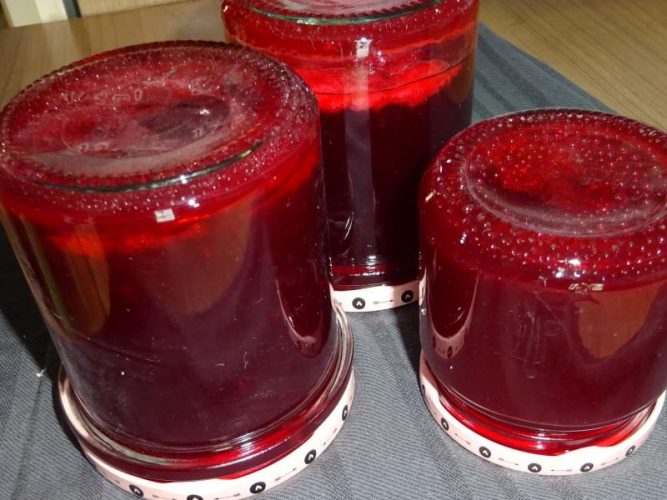
Then immediately fill the prepared jars with the hot mass, right up to the brim, and close the jars with the lids. After a few minutes, turn them upside down and let the jam cool down.
What to do if foam forms when making jam?
Some fruits, especially strawberries and cherries, tend to foam when making jam. In the case of heavy foaming, this should be skimmed off at the end of the cooking time, as the foam disintegrates in the jar when the jam cools, and this can reduce the shelf life of the jam. Skimming is therefore recommended in any case and should be done carefully with a skimmer or spoon. You don’t have to throw away the foam – you can eat it as a first sample the next day – it tastes great.
What do you need to make jam?
- a household scale that weighs exactly
- a hand blender
- a large saucepan
- a wooden spoon, a ladle ( useful to skim the foam) or a whisk
- a timing device
- a funnel
- a sufficient number of clean jars with screw caps and labels
How to properly prepare the jam jars
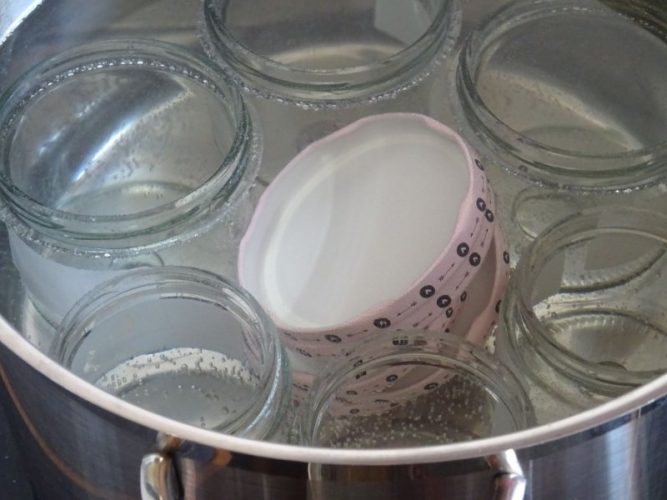
It is important that you only use perfect, clean jam jars with a suitable, airtight screw cap. To do this, place the jars and lids in a large saucepan and fill it with water until all the jars are submerged. Boil these out for 10 minutes. Then remove the jars with tongs (caution: risk of scalding!) And place the jars and lids upside down on a damp kitchen towel. Please do not use glasses that have already contained mold.
To avoid pre-gelation, the boiling hot jam must be poured out of the pot into the jars immediately after the cooking process is complete. You can use a funnel for this or pour the liquid directly from the saucepan into the glasses. After filling, close the jars and turn them upside down after a few minutes. Do not move or shake the jars until they are cool. Sometimes the gelling process can take up to 24 hours. Put labels on the jars with the type of jam and the date of preparation written on them. Keep your homemade jam in a cool, dark place.

How long is homemade jam good for?
How long homemade jam is good for depends on the type of preparation and its sugar content. The more sugar it contains, the longer it lasts.
But even if the homemade jam lasts for many years, it should be used up within one to two years for reasons of safety.
When buying jam from the store, pay attention to the best-before date, and use it in a good time.
Once opened, keep the jam in the refrigerator and use it up in a couple of weeks.
Did you find this post useful, inspiring? Save this pin to your Food and Recipe board on Pinterest. Thank You so much.

 |
By: Andrea |